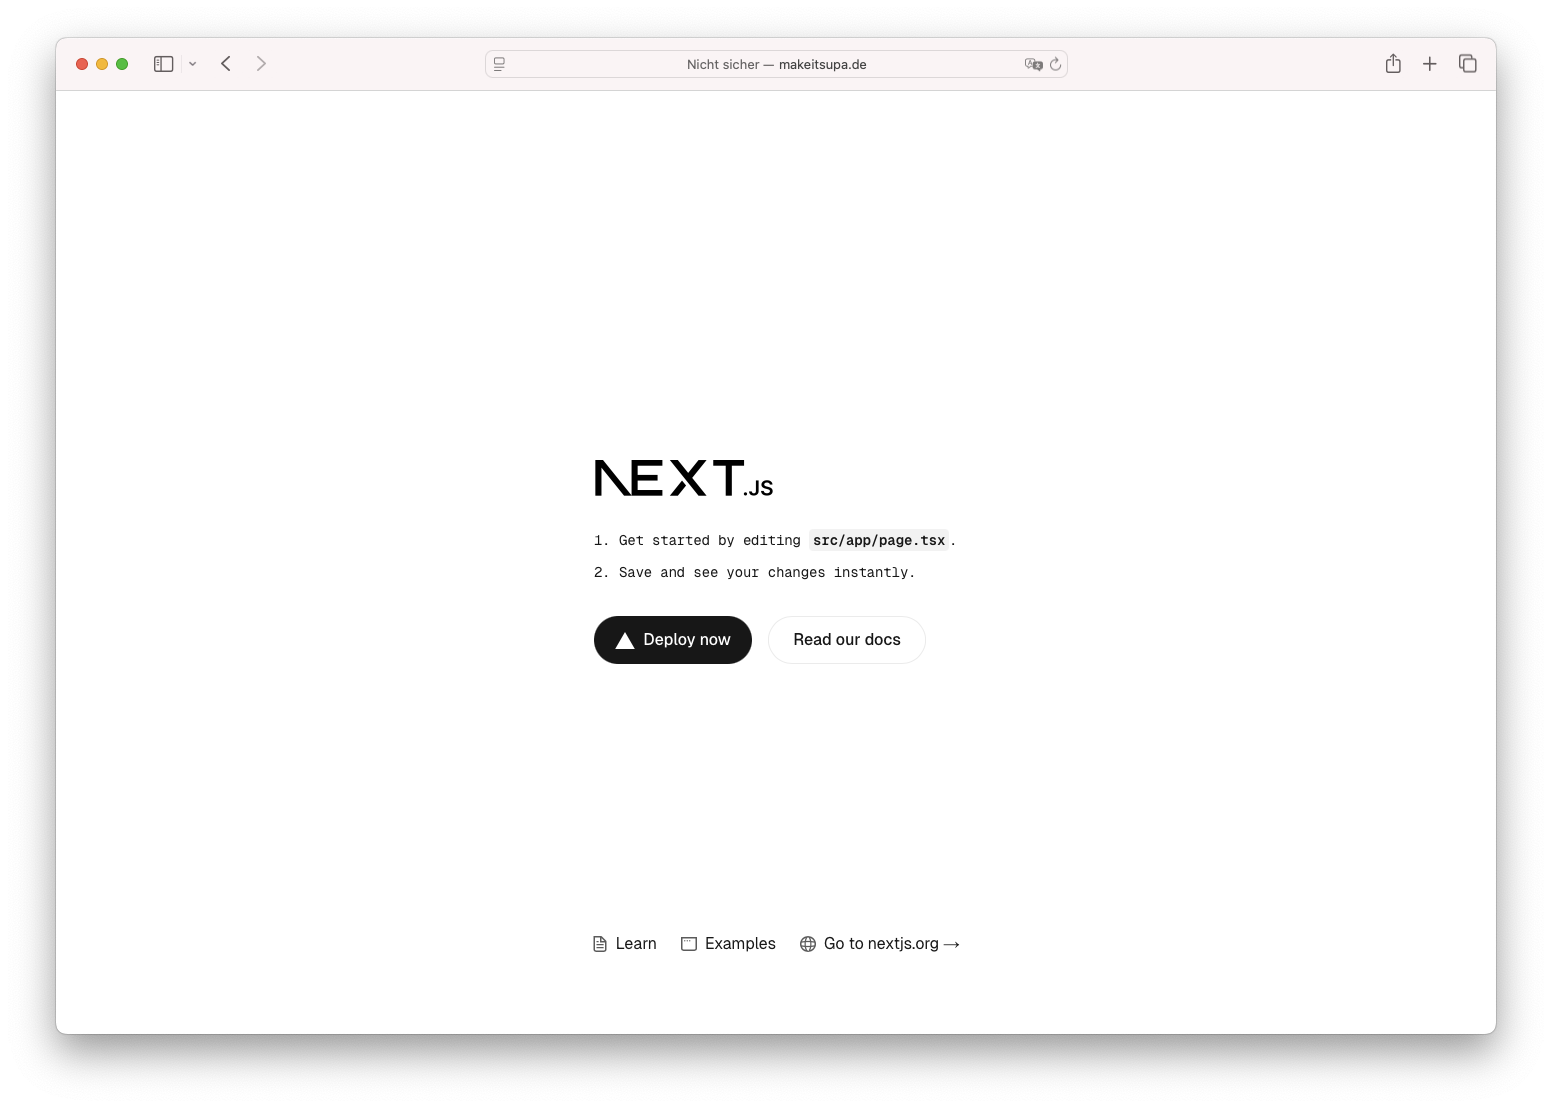
Hetzner is a German hosting provider that offers a free tier for static websites. This is a great option for hosting small projects or personal websites. In this post, I will show you how to deploy a static website to Hetzner.
Create a Hetzner account
To get started, you need to create a Hetzner account. You can sign up for a free account here. Once you have created an account, you will need to verify your email address.
Create a new project
Once you have verified your email address, it is somewhat cumbersome to order the actual product. Just go to the Webhosting site and select level 1 to start with. They will then ask you a bunch of questions. As far as I could see, a .de domain is basically free - all other domains will need to be paid for. You could also transfer an existing domain or apply nameservers.
Create a new static website
Now let's create the actual website. Let's assume you've built your website using v0.dev. In the top right corner, you'll find an export button. Click on it and select "Download ZIP." This will download not just the website, but a complete Next.js project.
Unzip the folder and open it in your favorite code editor.
Now you'll need a few tools to get started. I won't cover this in detail here, but essentially, you'll need Node.js and a basic understanding of Node package management (NPM) and its ecosystem.
Next.js and React are the fundamental building blocks for modern websites. You can't simply deploy this somewhere and expect it to work right away. You need to build the project first, which involves converting all this complex stuff into HTML, CSS, and JS. This is done by running a build command. However, before we can do this, we need to adjust a setting.
Typically, Next.js comes with a variety of sophisticated features. But for a static website, we don't need all of that. So let's modify the next.config.ts file. Open it and add the following lines:
const nextConfig = {
  output: "export",
}
module.exports = nextConfig
This will tell Next.js to build the project as a static website.
npm run buildThis will create a new folder called out in the root of your project. This folder contains all the static files for your website.
Deploy your website
Now, let's return to Hetzner, open the project we just created, and look for the webFTP section. Start an FTP session and navigate to the public_html folder. Remove everything inside it and copy the contents of the out folder into the public_html folder. That's it! You can now open your website in a browser.
As for SSL, it wasn't working at this moment. The Hetzner console indicates it will take a few minutes. I believe this is because the domain is not yet verified. I will update this post once I have more information.
